Saturday 31 December 2011

2012 - year of the cowboy boot!

Just dug out my cowboy boots, they are gonna be BIG in 2012!

How do I know? Cos I'm gonna be wear them on the bike till they drop off my feet!

Have a good piss up one and all, time for me to get steamboated!

Wednesday 28 December 2011

Self medicating

I refuse to be ill on my time off, so I'm self medicating with the single barrel JD.

Tuesday 27 December 2011

Scout 741 stroker project for sale

Indian 741 / junior scout stroker project for sale.

As with most projects I have squirrelled away a good hoard of spare parts, and something has to give..

This is a pretty good starting point for a nice racer project, the stroker rods and flywheels are Harley 45, which allows for a tasty 750cc rather than the more doslie 500cc that the stock 741 motor generates.

All the big parts are here to build a bike with, the intention was for a Brit gearbox to be used with this setup..

Anyways, drop me a message at tc@customxs650.com if your interested and want more info and pictures....

Tuesday 20 December 2011

Frame build Day 2

First job of the day for me (no I didnt just stand round all day - I did at least 3 things....) was to clean an old headstock up to use as a guide for today (a new one will be turned up by my sensei at a later date).

I already had chrome bearing cups as can be seen in this picture...


Much measuring was needed to sort the rake of the headstock out, The white pole is the line of the forks, and the red mark where the spindle for the wheel will be. The flat bar on the end of the jig (attached to the bottom of the jig) will be the ground level when all is finished...


To get the flowing lines sorted it was time to get the tube bender out. Toddy has a very impressive bender bolted to the floor of the workshop. Great bit of kit it is too...


Tube was cut to length, then sanded to remove all the crap on the outside of the tube, then it was cleaned with thinners to get it as clean as possible. Toddy informs me that this it ensure that there isnt any crap that would both scratch the tube and damage the formers....

Prior to bending both the tube and the formers were suitably greased up to allow a smooth draw of the curve.

There was much tooing and froing with the tubes over to the engine in the jig throughout the day to get things right.

We started with the bottom of the engine and the big curve that would follow the crankcase.... some thin bar was used to rough the curves...


Straight tube...


and during the bend...


It went slightly over, so with some heat applied with toddys fag lighter he "relived" the bend (if thats the right word?!?)


And into the jig to see how it looked...


Now i missed some photos here, but to give the frame a nice goose neck, and to match the engine another small curve was made to kick back from the generator and then backup to headstock.

This was done loosely on the bender, and looked not bad -  Toddy then refined all the curves with plenty of heat. what a difference it made to the whole look of the tube....


During this process the frame moved a bit in that it wasn't aligned down the center line of what would be the bike. Again heat and tweaking ensued to get it right.

Hopefully this picture will allow it to make a bit more sense...


The ends then had to be trimmed and profiled to meet the angles of the headstock....


and here is the bottom rail completed! another long task to get done, but well worth all the extra effort!


Next up was the top tube. The tank would cover the middle of the tube,so we decided on bending to give the desired angle to interconnect with both the headstock and the bottom tube. 

The tunnel for the tank will have a V shape to sit on top,but the bend will not be visible....


This sportster tank has had the tunnel mod for another bike toddy made, so you see how the bend is not part of the look of the bike...


Final job for the day was to make a brace for the frame. The same level of care and attention was given to making this...


Again, the tank is just to mock up..


and from a different angle..


I'm absolutely stoked with how this is going. I honestly thought this would be a quicker process, but as we all know toddy doesnt do things by halves. Each curve and individual element is carefully thought through (with a fag and a cuppa), and refined until he is happy. 

Hopefully you guys have an idea of the time that goes into a well thought out frame through this.

Unfortunately I have family stuff to do the next couple of days,but we'll keep putting progress of the build up as it goes.

Cheers Toddy - i'm still beaming from ear to ear!

Monday 19 December 2011

45 Frame Build Starts at Toddys

ok, so todays progress.....
The car was laden like santa's sleigh full of parts old and new!
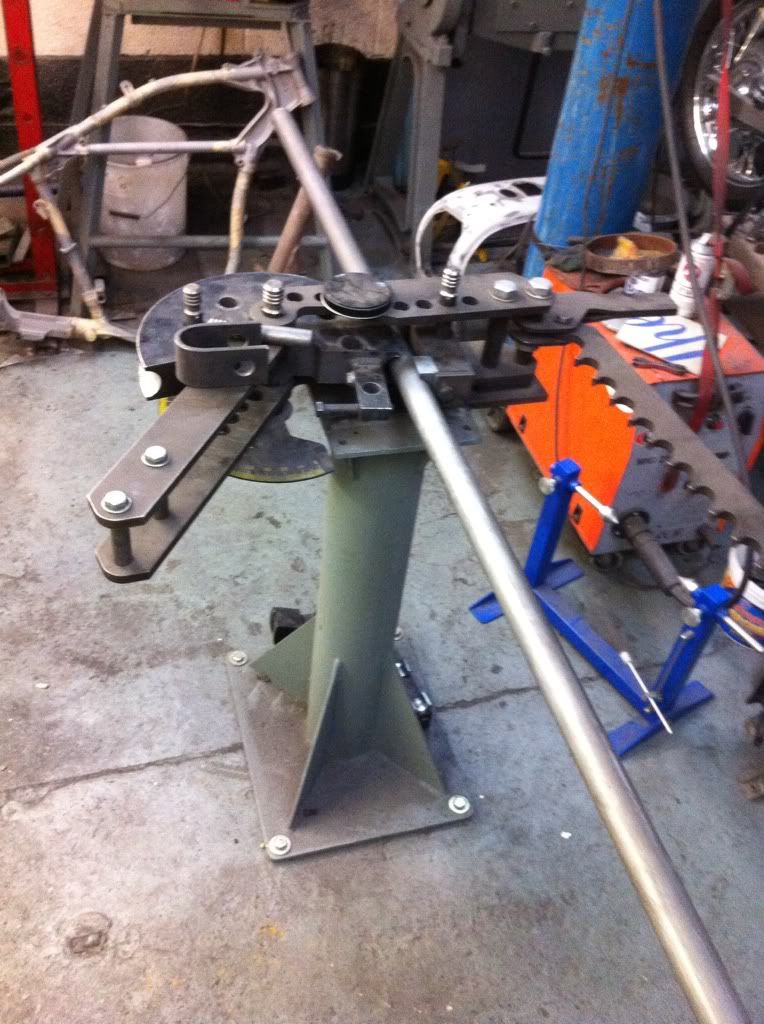
As toddy said, today would involve getting the engine jigged up - I had no idea how long a frame would take to build, so hopefully you can see on here how long it takes....

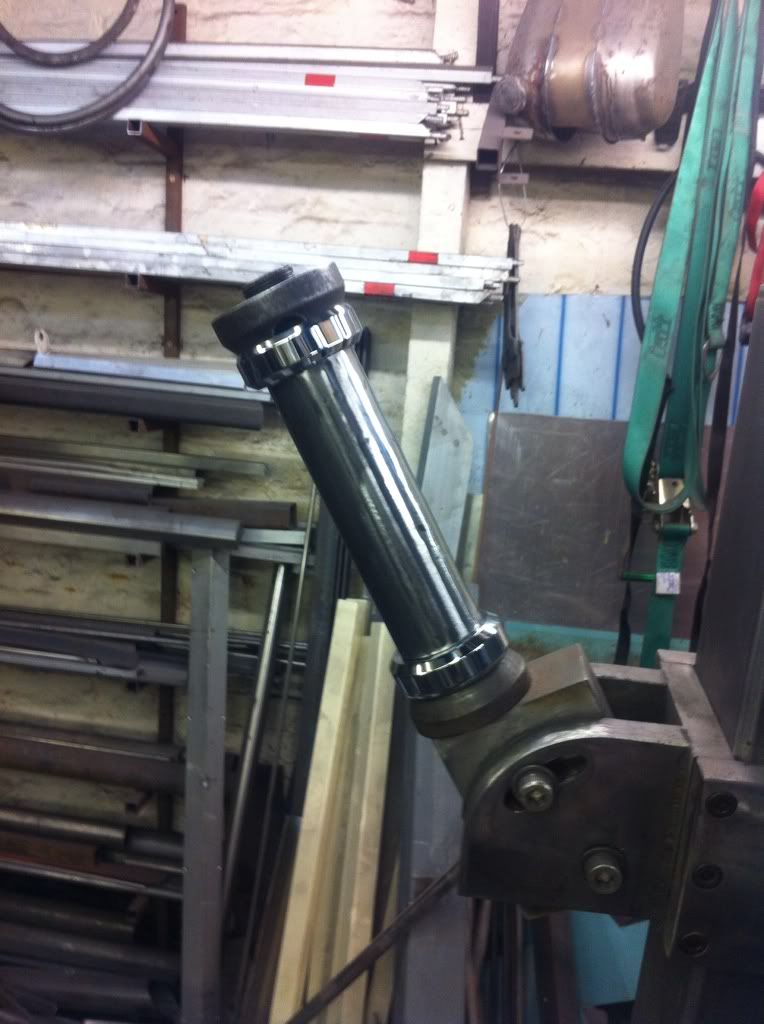
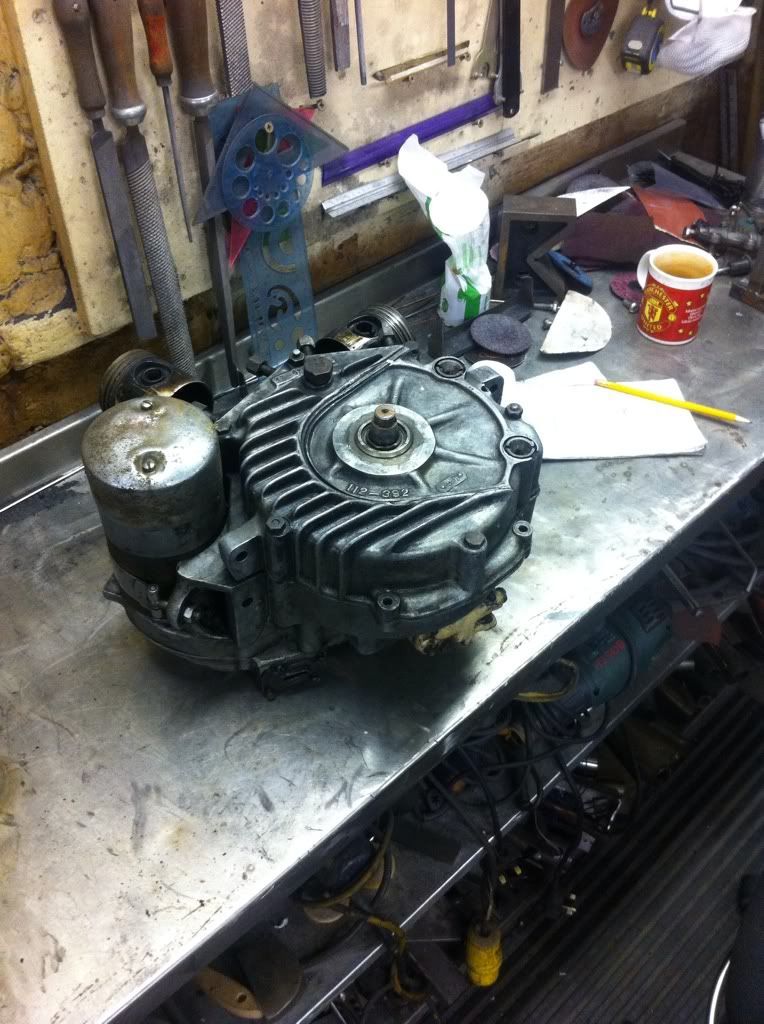
First up Toddy had to work out how the engine could be mounted onto the jig so that it was lined up with the centre line of the bike. Unlike the Japper engines and BSA engines, the Harley mounts seemed to be a bugger. 2 mounts either side of the engine at different heights...this is the bottom of the engine, and you can see 2 of the mounting holes.


Toddy set about making the mounting plates with locating holes. Lots of measuring and attention to detail with the plates (didnt get any photos, but you'll see them at a later point...)

Many cups of tea and a breakfast delivered to the door and they were all done...


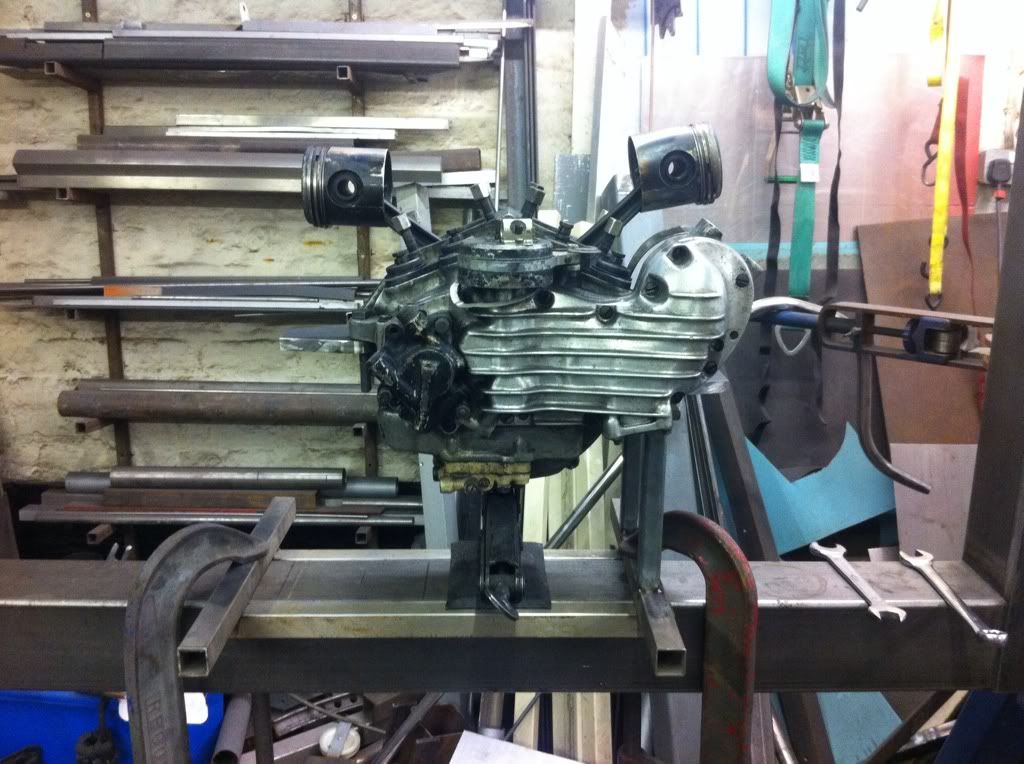
Photos of the important bits!

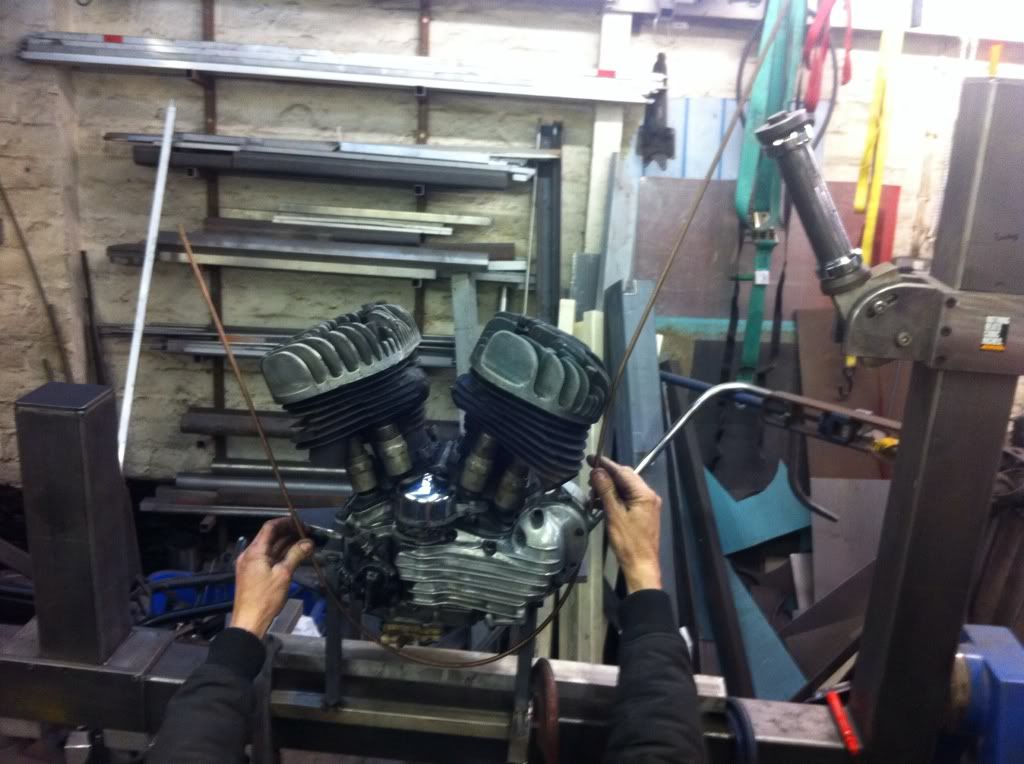
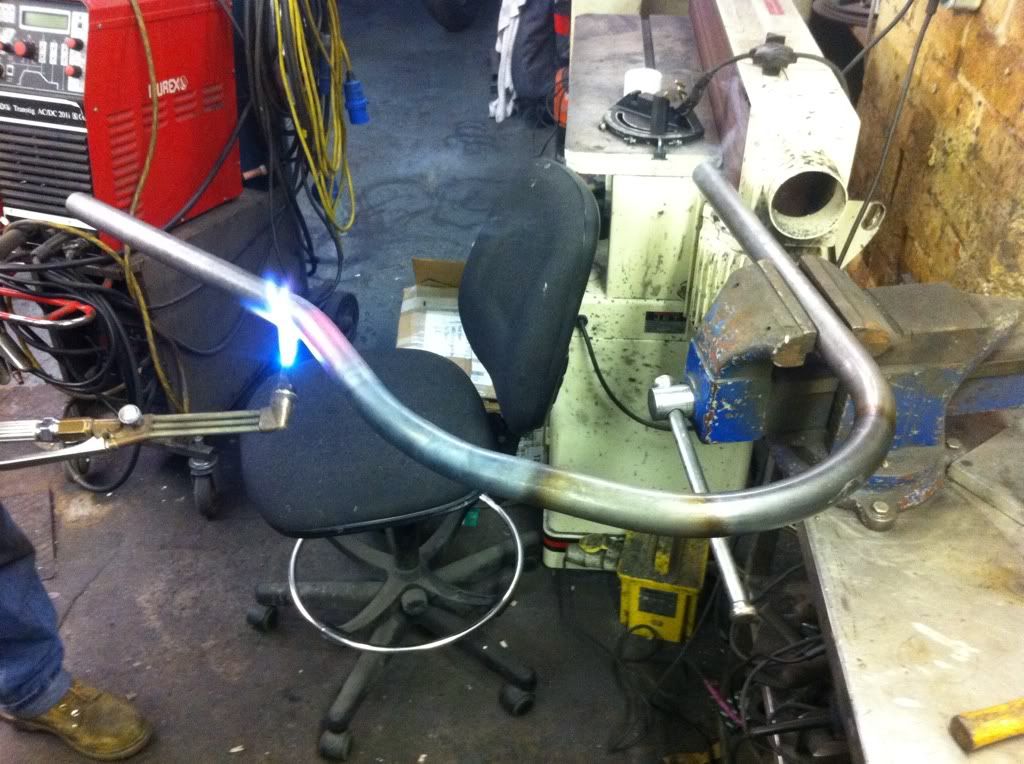
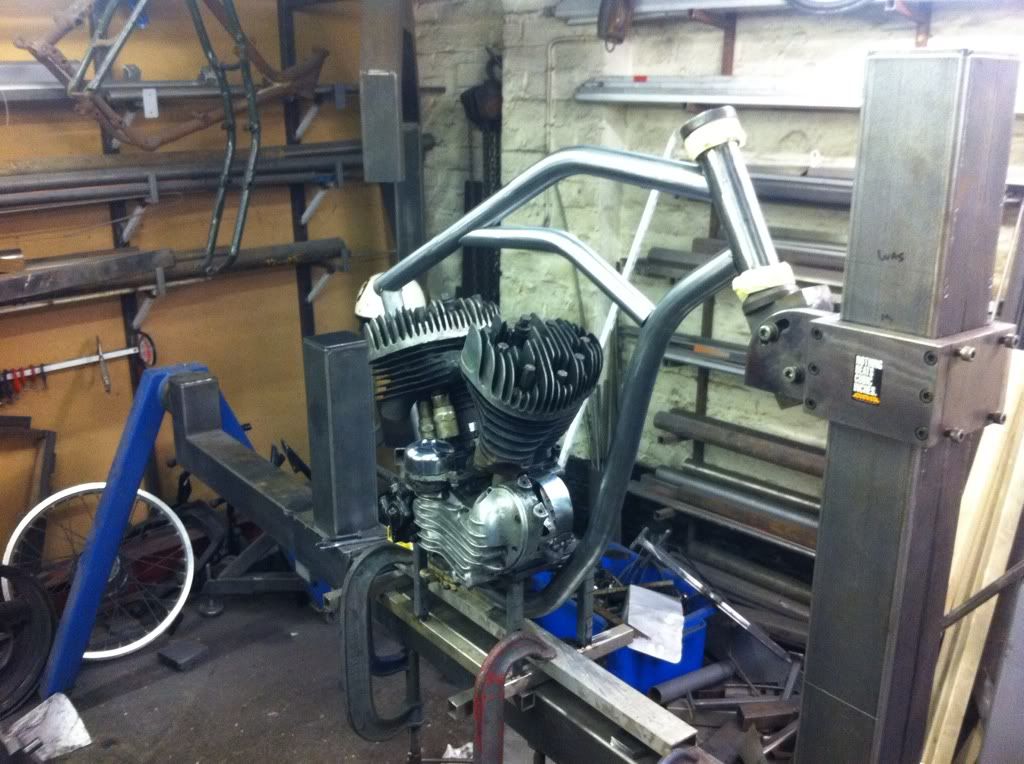
next up toddy needed to make some supports to go between a recycled saddle for the jig. They needed to be perfectly level,and provide enough height so that Toddy could get the bent tube that will curve around the engine in and out.

Again more measuring and cups of tea...

To get the supports perfectly level toddy cut the box section roughly to size, then used his milling machine to get them perfectly the same height. On top of the supports a bar with corresponding mounting holes was marked and drilled with pinpoint precision.

these box sections were then tacked into place, checking each leg was at 90 degrees after each tack (the heat moved the bars from upright)

Finally for the one side, the top bar was welded on top, again ensuring everything lined up.....

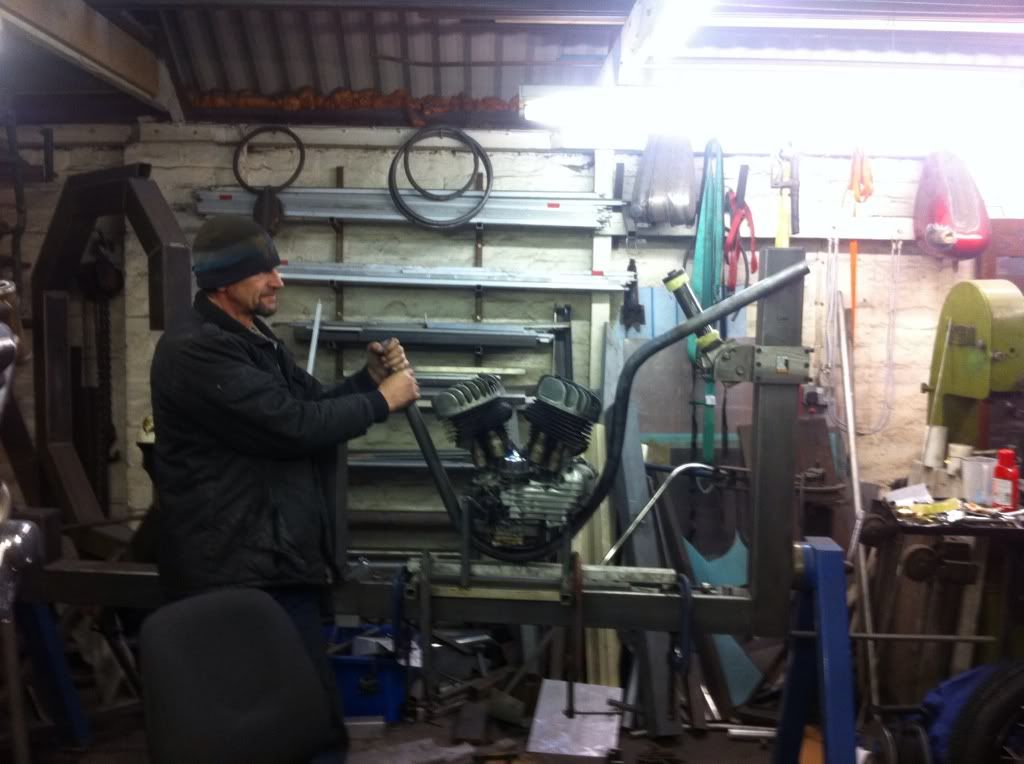
A car jack was used to support the engine while it was connected at one end of the engine....


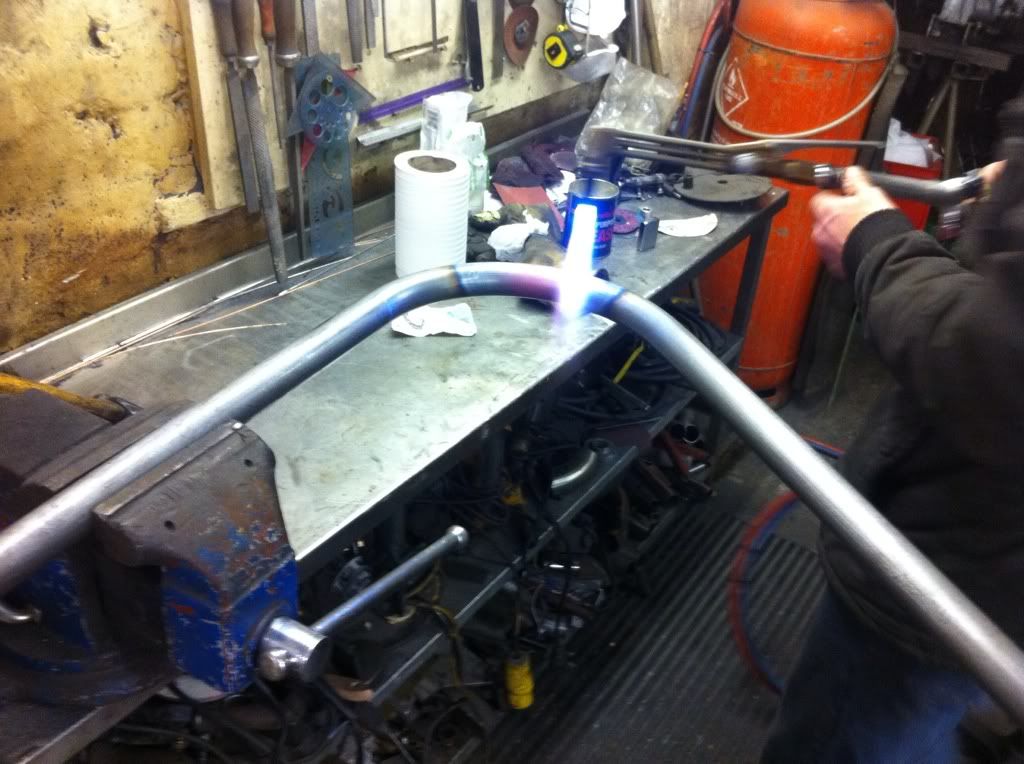
and the man in action.....


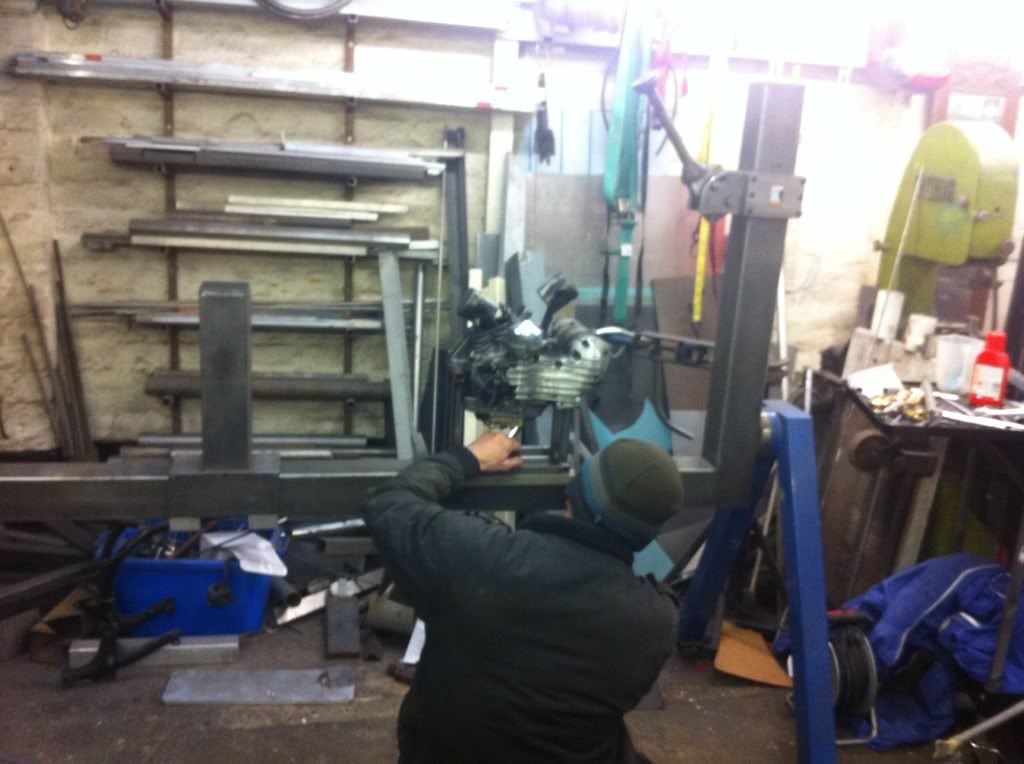
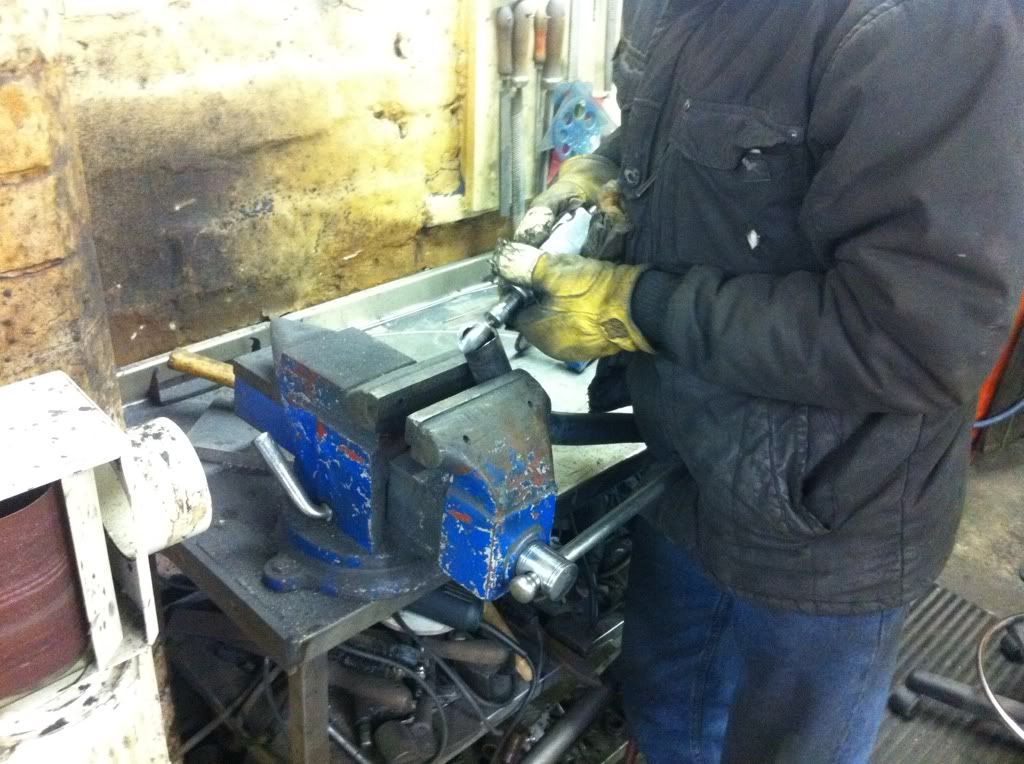
Toddy reckoned a slight twist in the legs, so a metal bar was used to counter the twist slightly.

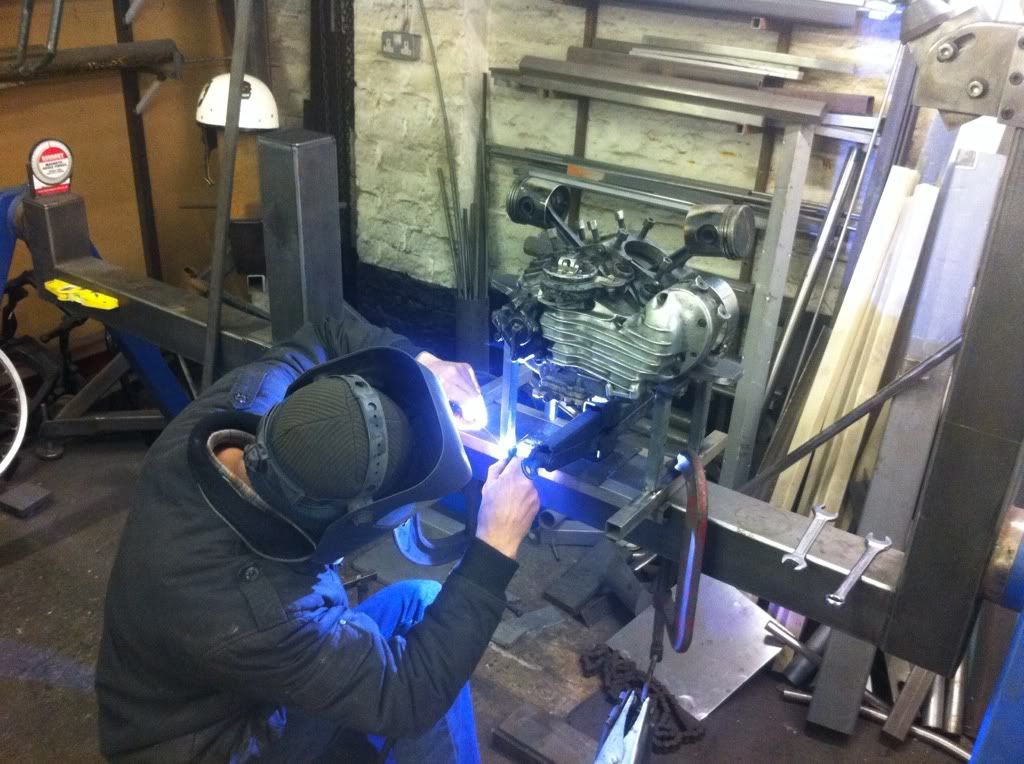
The engine was tightened on the one side, supported by the jack, and then Toddy could measure the other side (as it was flush to the mount, hence level....)

The same process of cutting and milling struts, plus a top bar was undertaken, then tacked in place with the same level of accuracy.


And then......

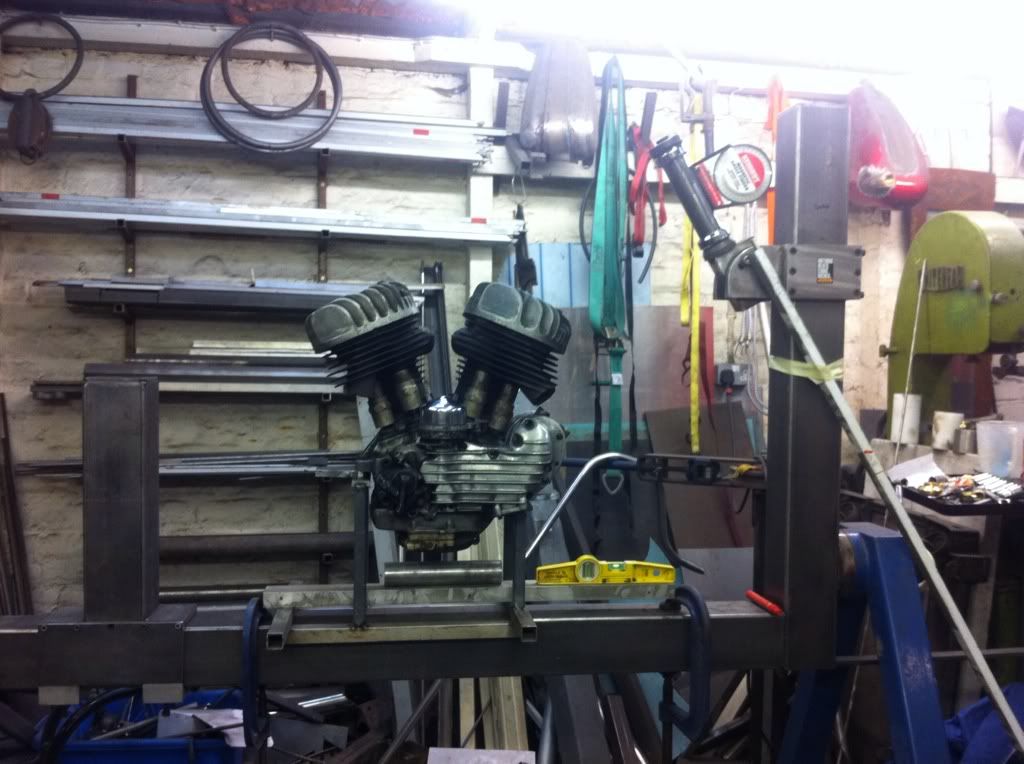
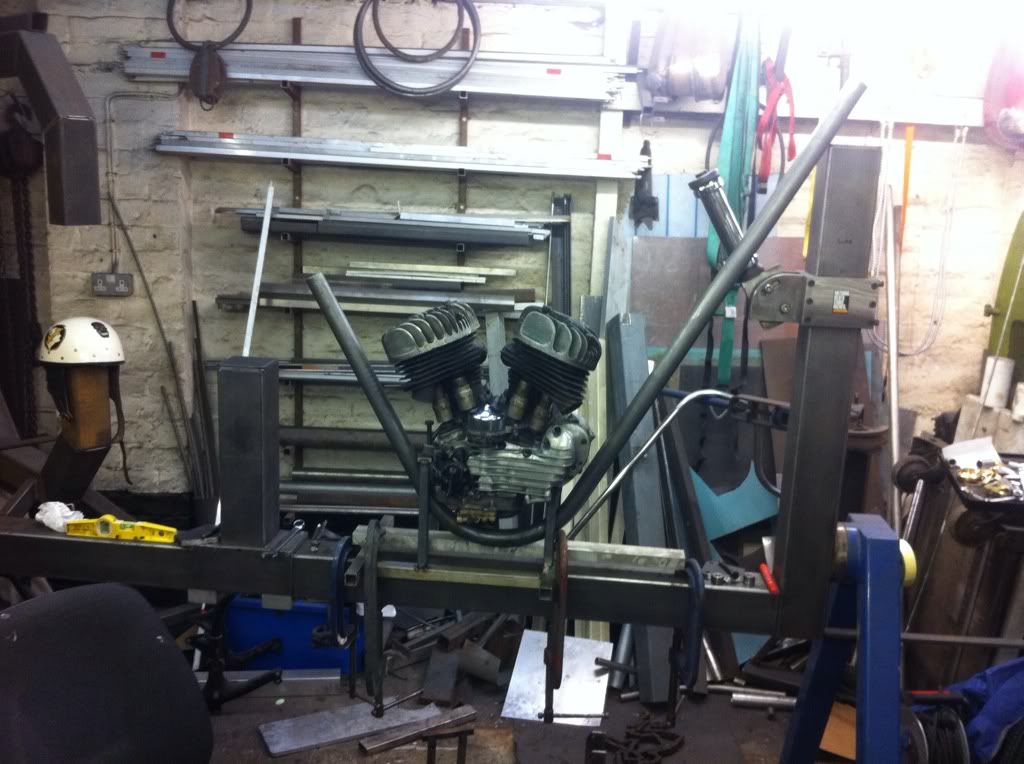
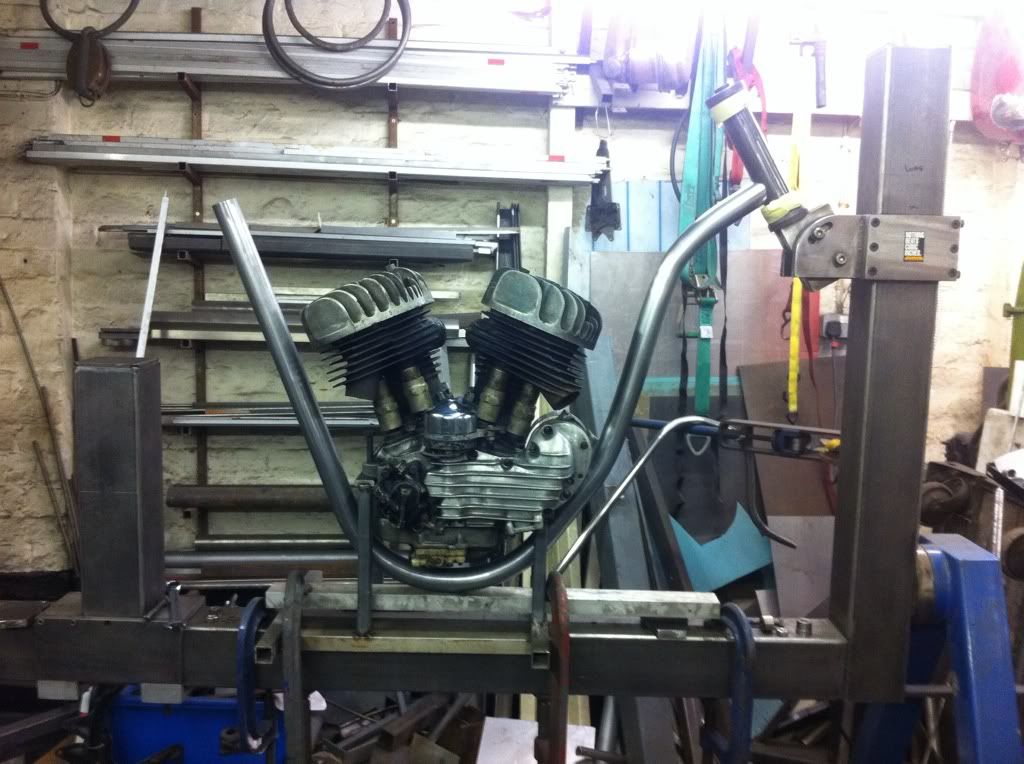
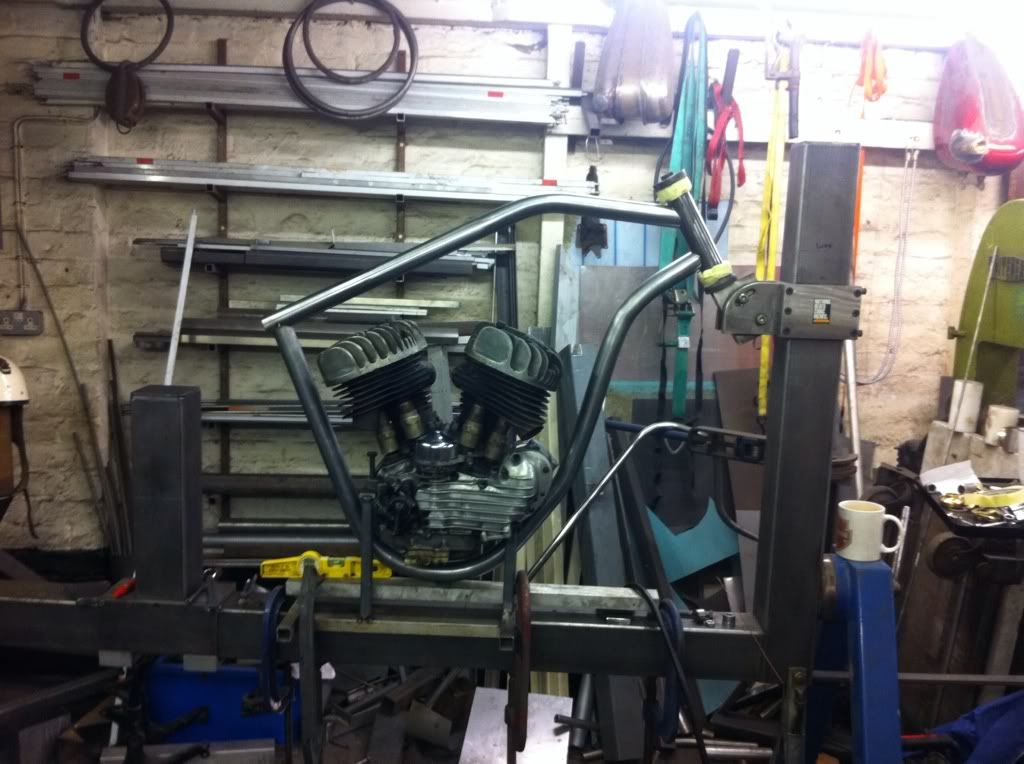
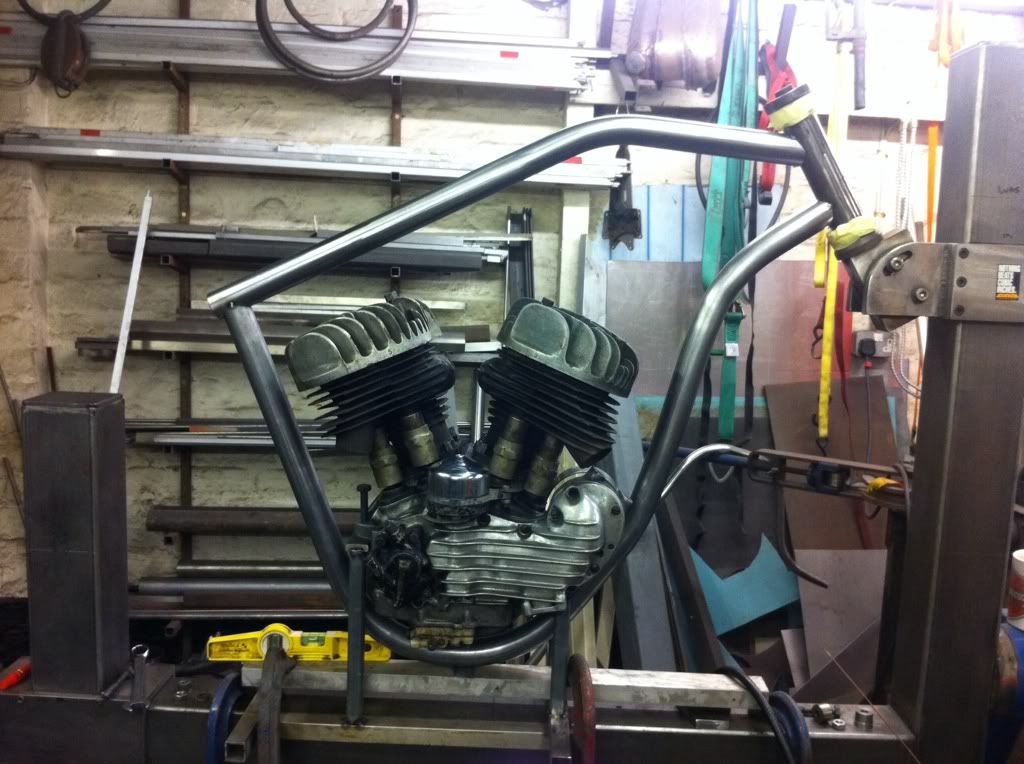
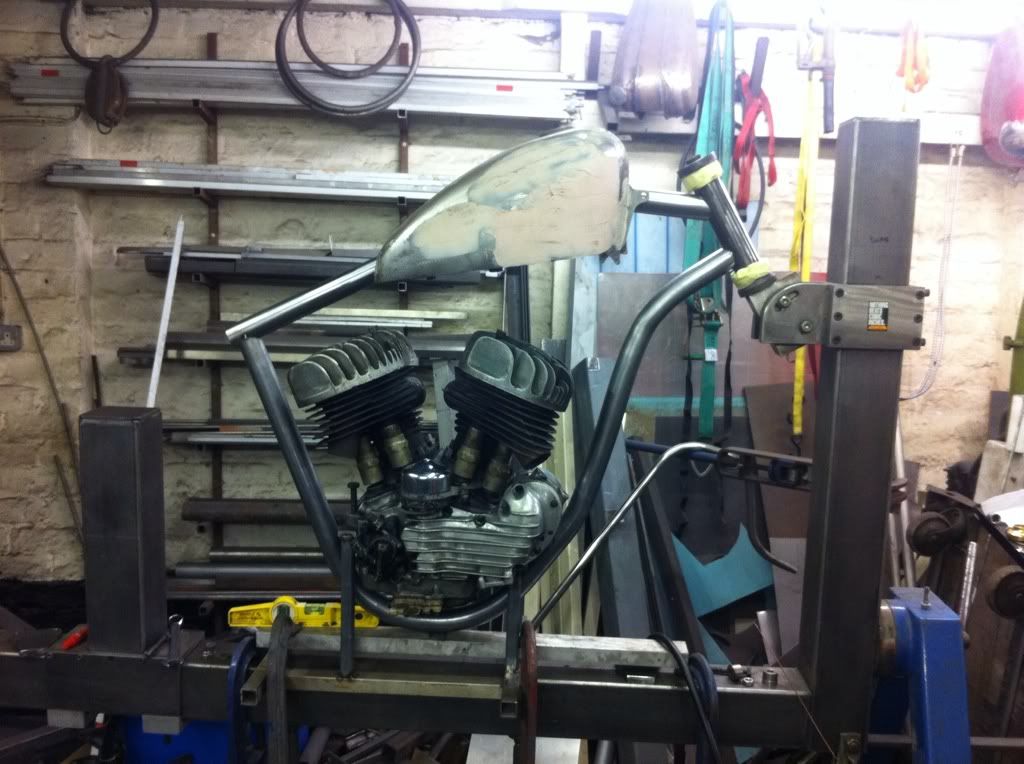
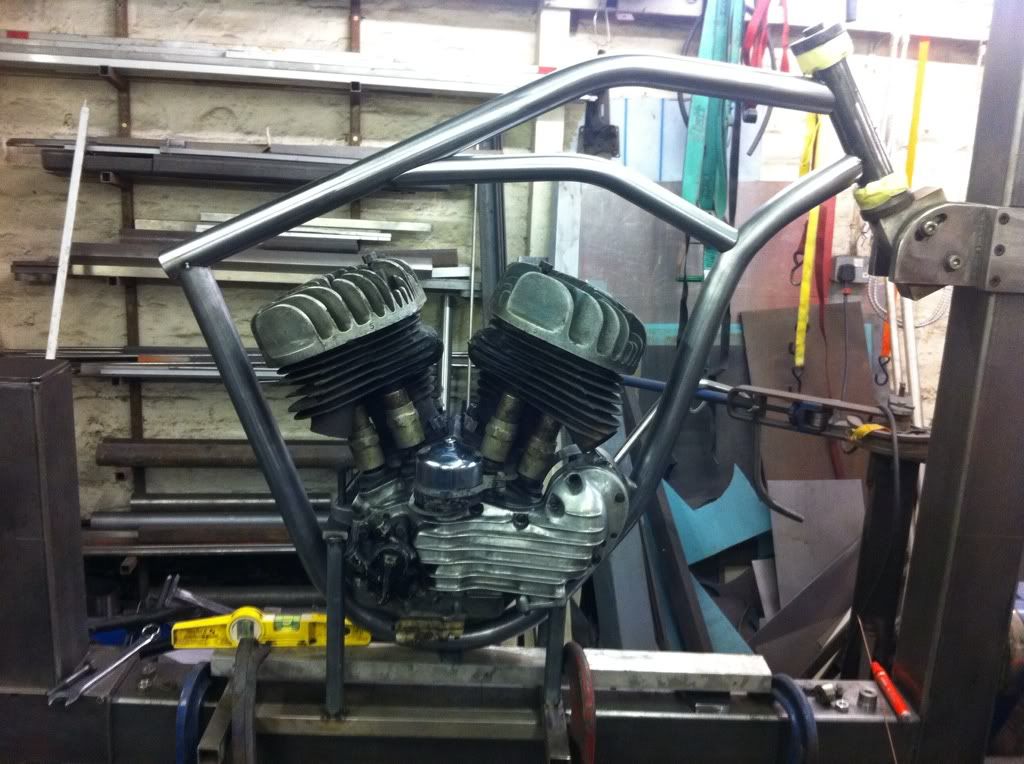
One perfectly leveled and centered engine on the Jig.....
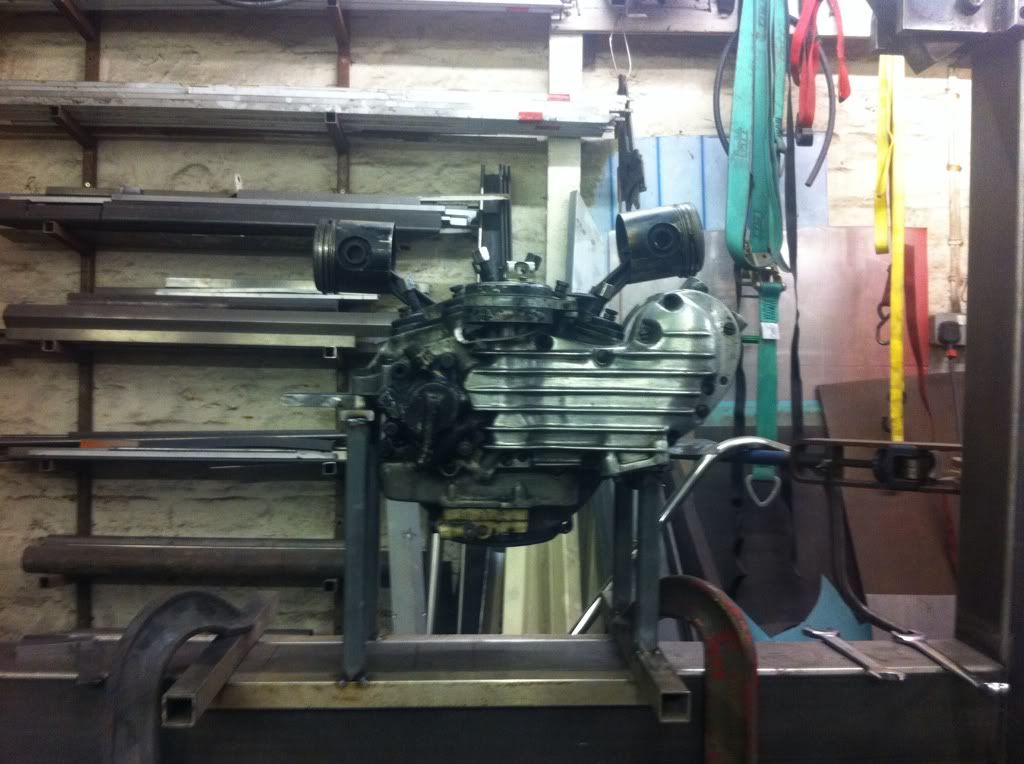
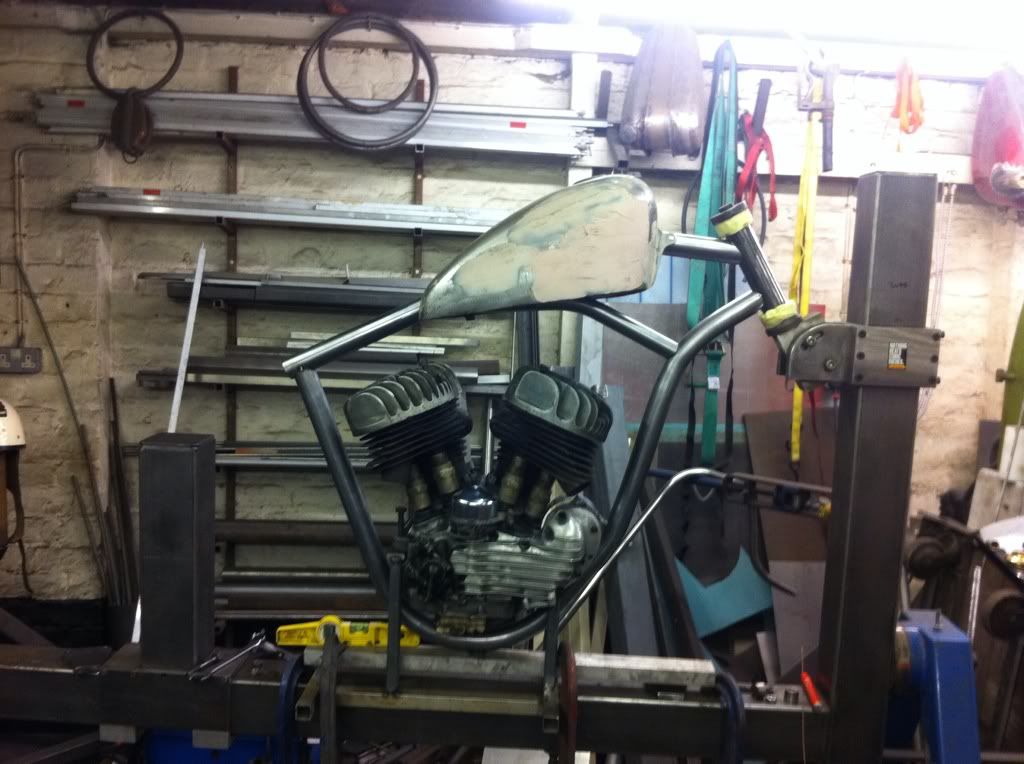


Heads on....


how fucking cool is that!!!!!!!!!!!


so that took us from about 9.30 till 5, a few tea breaks (you can rush perfection) and plenty of chat, and me standing about and getting in the way...

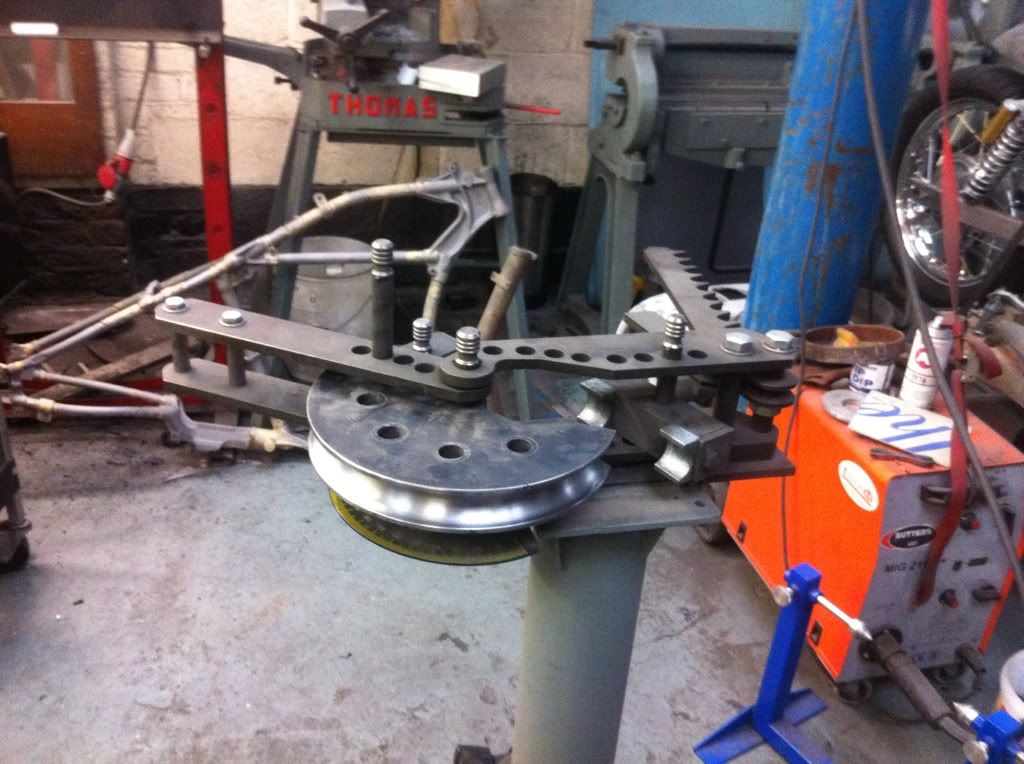
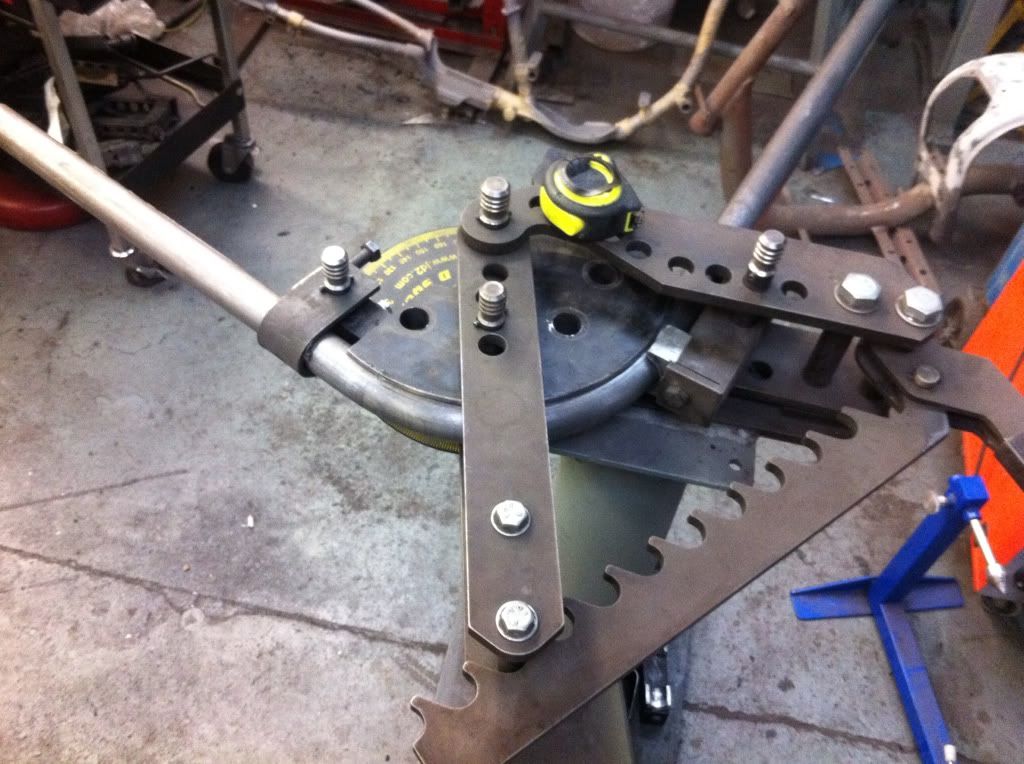
Tomorrow we'll start the bending !

Wednesday 7 December 2011

Wheel me

45 wheel arrived after a 2 month delay...
Just picked up a triumph one for the rear as well and some lovely Firestone rubber for them both!